Open Inquiry 6: Drop Spinning
Spinning is the part of this process I was most excited about, but also the one I knew least how to do. Spinning is the last task before the wool is ready to be used in knitting or crochet. My motivation for this whole project was based on being able to knit with homemade yarn. Good quality yarn can be expensive when you start making bigger projects like sweaters or blankets. It defeats the purpose of creating something from scratch, like a knitted wool sweater, when it becomes far more expensive than just buying one. Using a low-middle range priced store-bought yarn would cost me around $120 just in materials, not including the extra needles I would also have to buy.
I found that this video had some helpful beginner tips on how to get started. I struggled to get the yarn width consistent and couldn’t spin without stopping every few seconds.
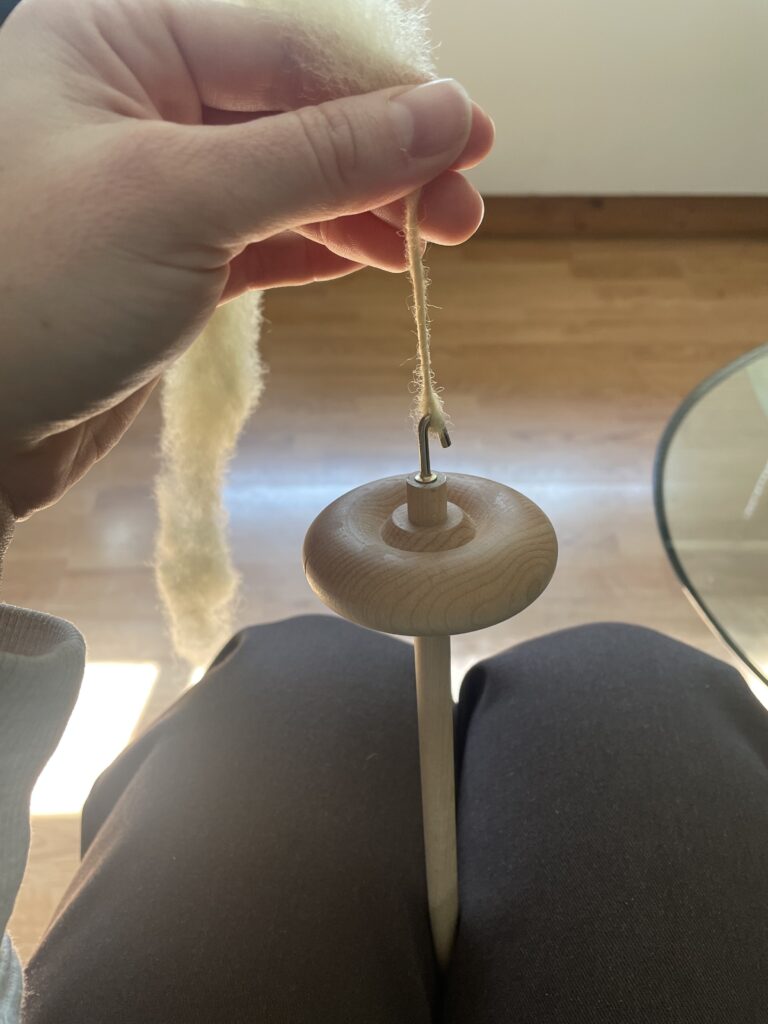
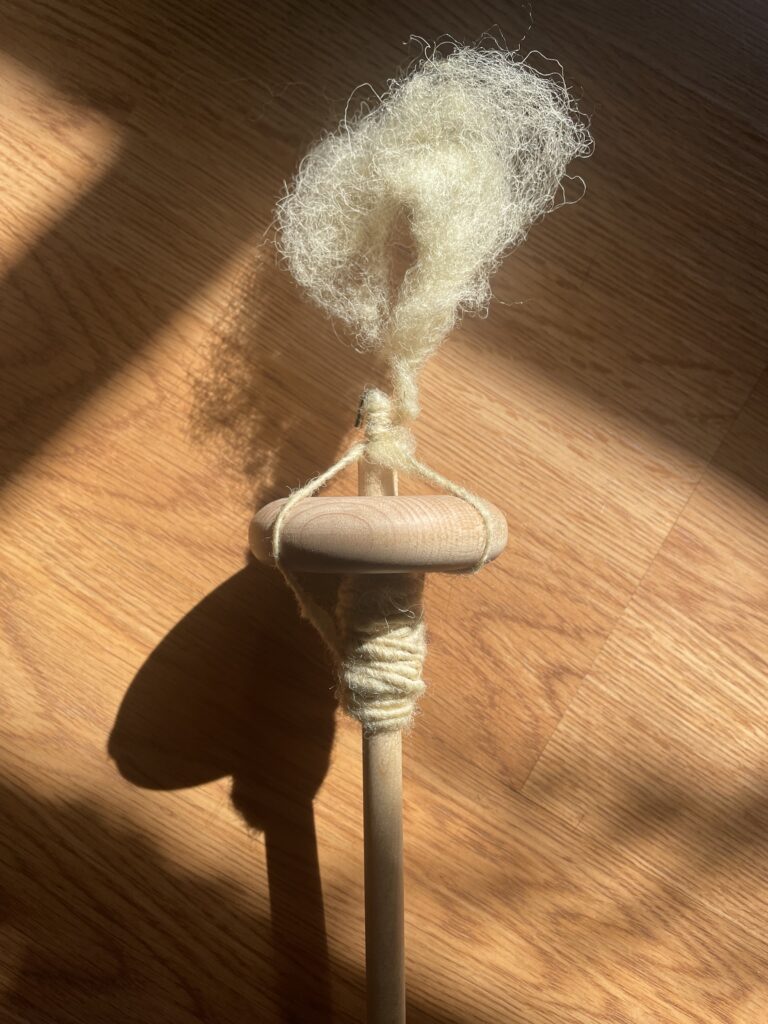
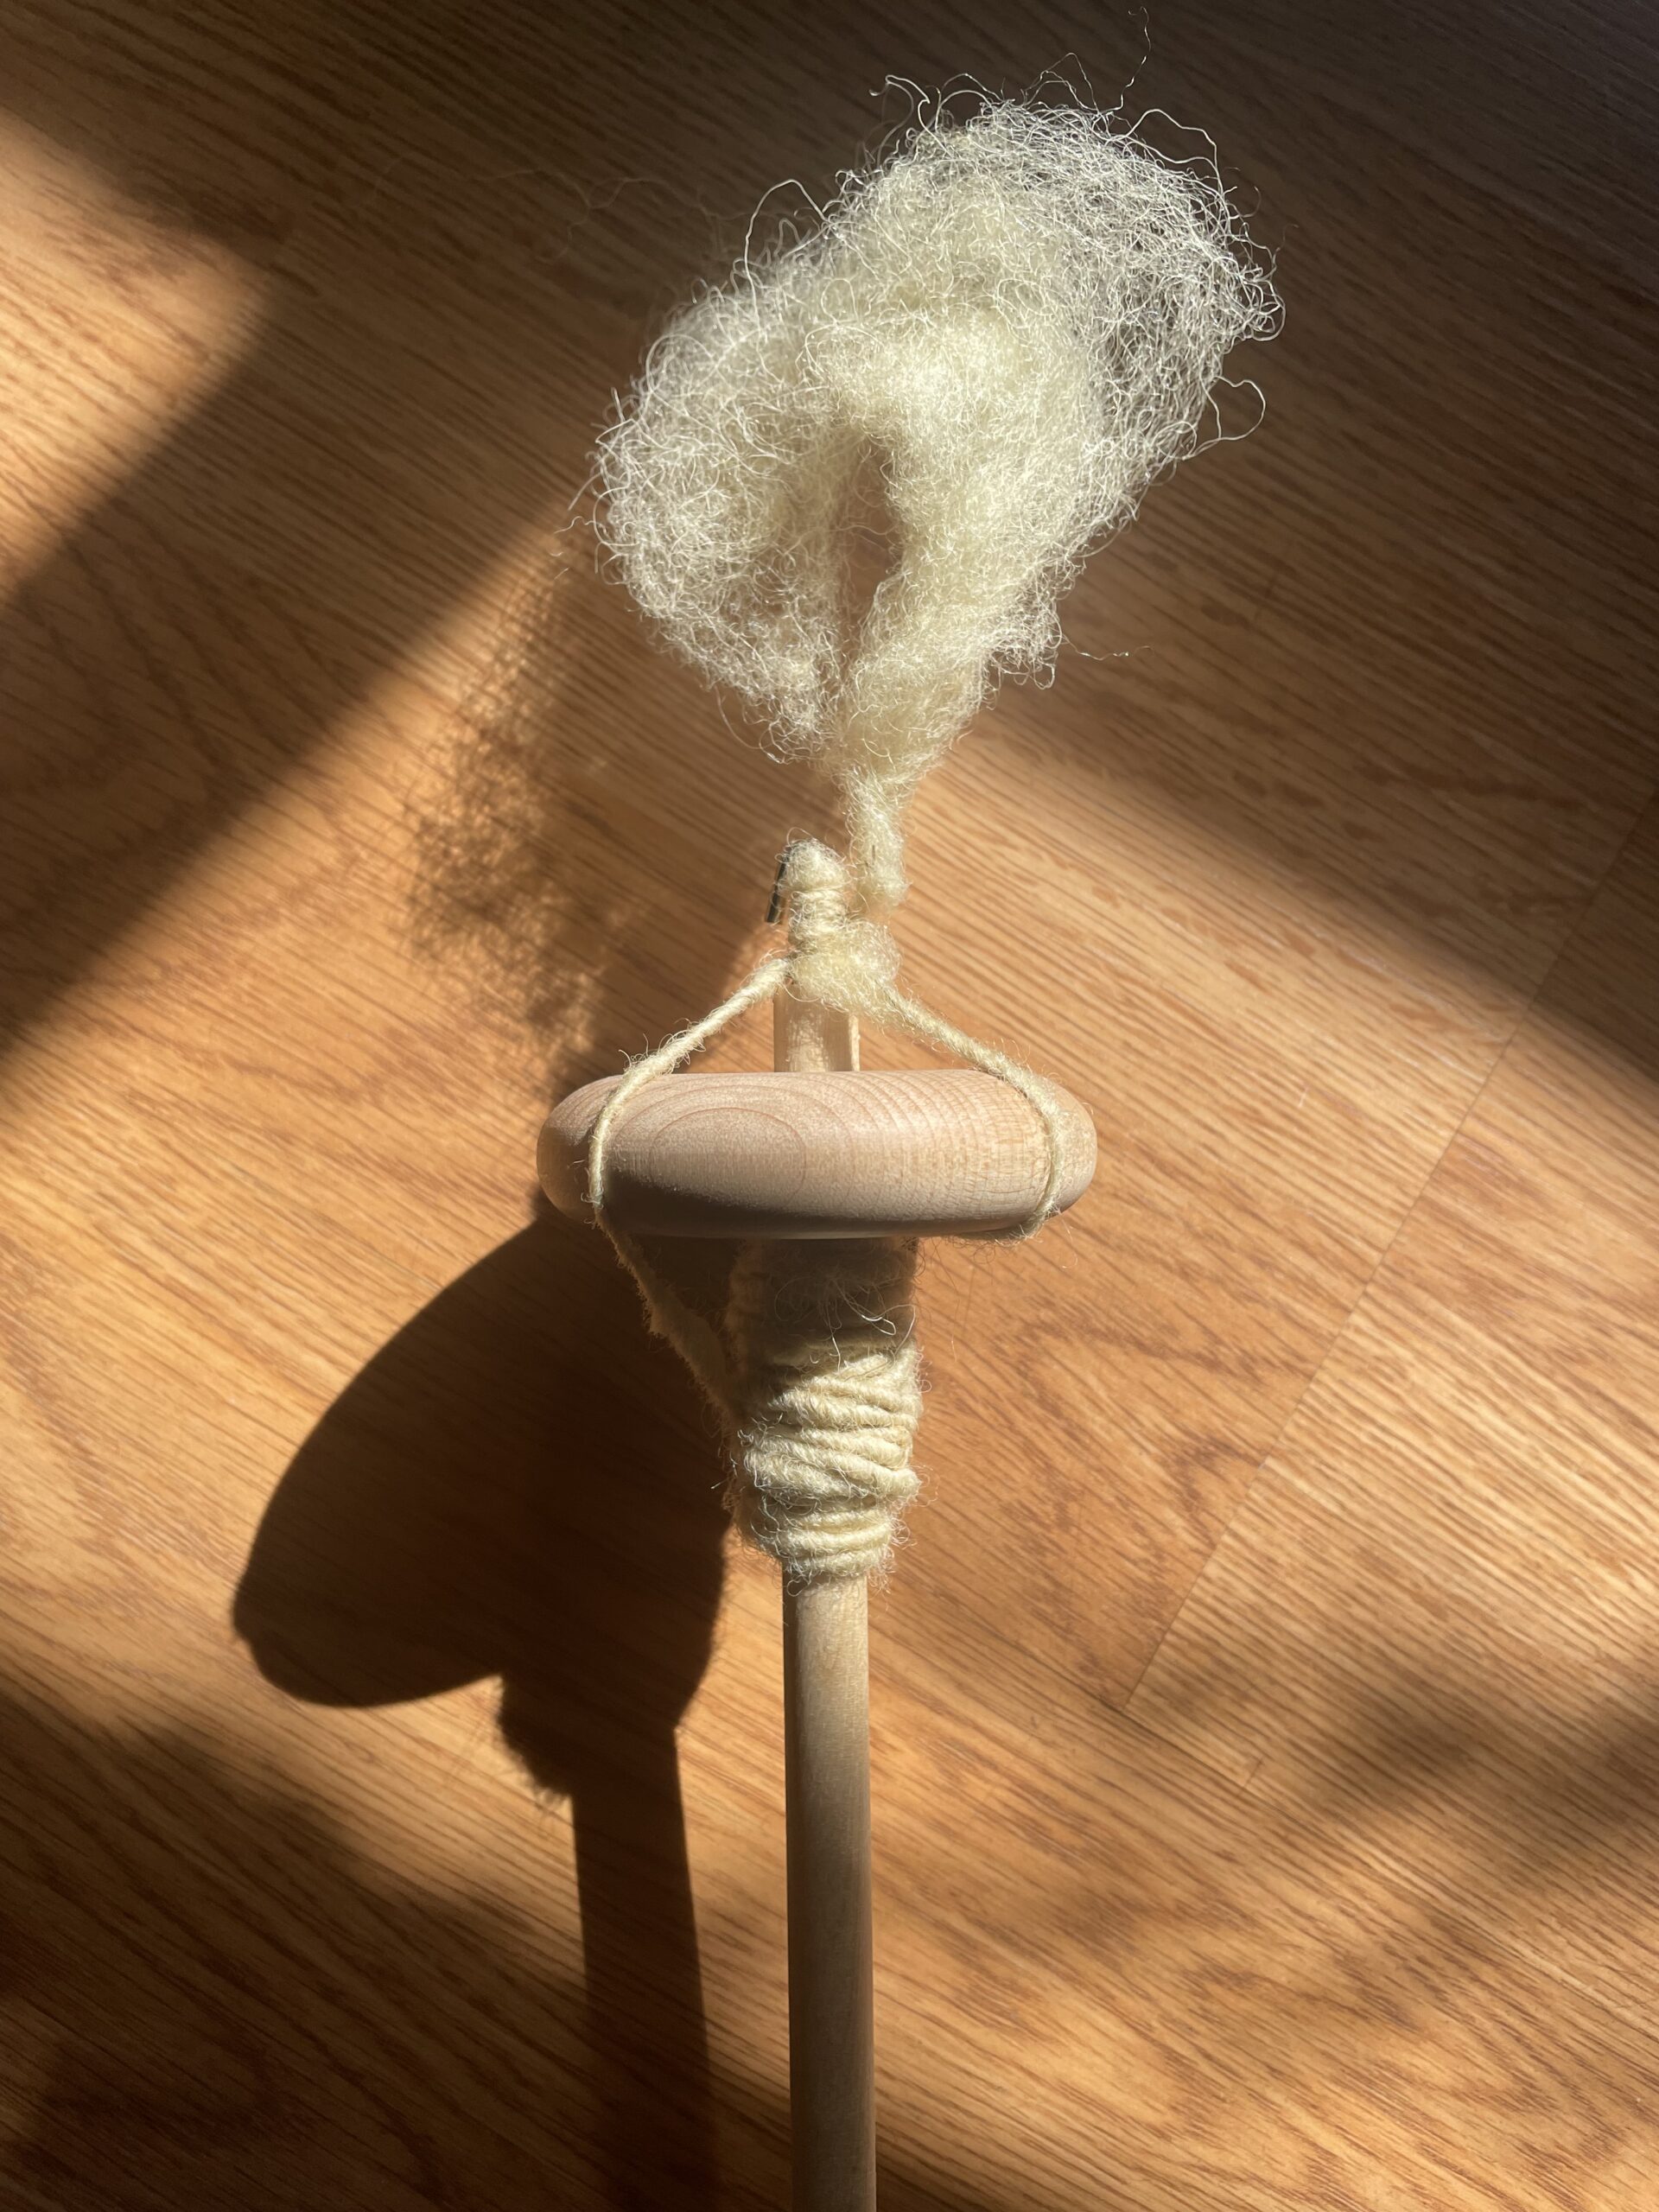
I watched other videos, and they all had slightly different ways of connecting the yarn to the drop spindle, ways to spin and hold the spindle. I spun anti-clockwise and fed the wool in with my left hand. I realized after the first couple of minutes that I spun too much and the yarn was winding in on itself. I started again and tried to only spin a few times before feeding more wool in. Once you have spun about an arm’s length, you wind it onto the drop spindle. As you go, you thin out the wool at the top to keep a consistent width and to keep a steady flow. As you get to the end of the rolag, you spread the fibres and add another section. I found this tricky and kept dropping the entire project as the wool thinned out too much and broke off. I found this part of the process hard, and will need a lot more practice before I can spin consistent yarn.